It's Christmas!!
It's Christmas time and what's Christmas with out Christmas lights?? well it's a dark a gloomy Christmas...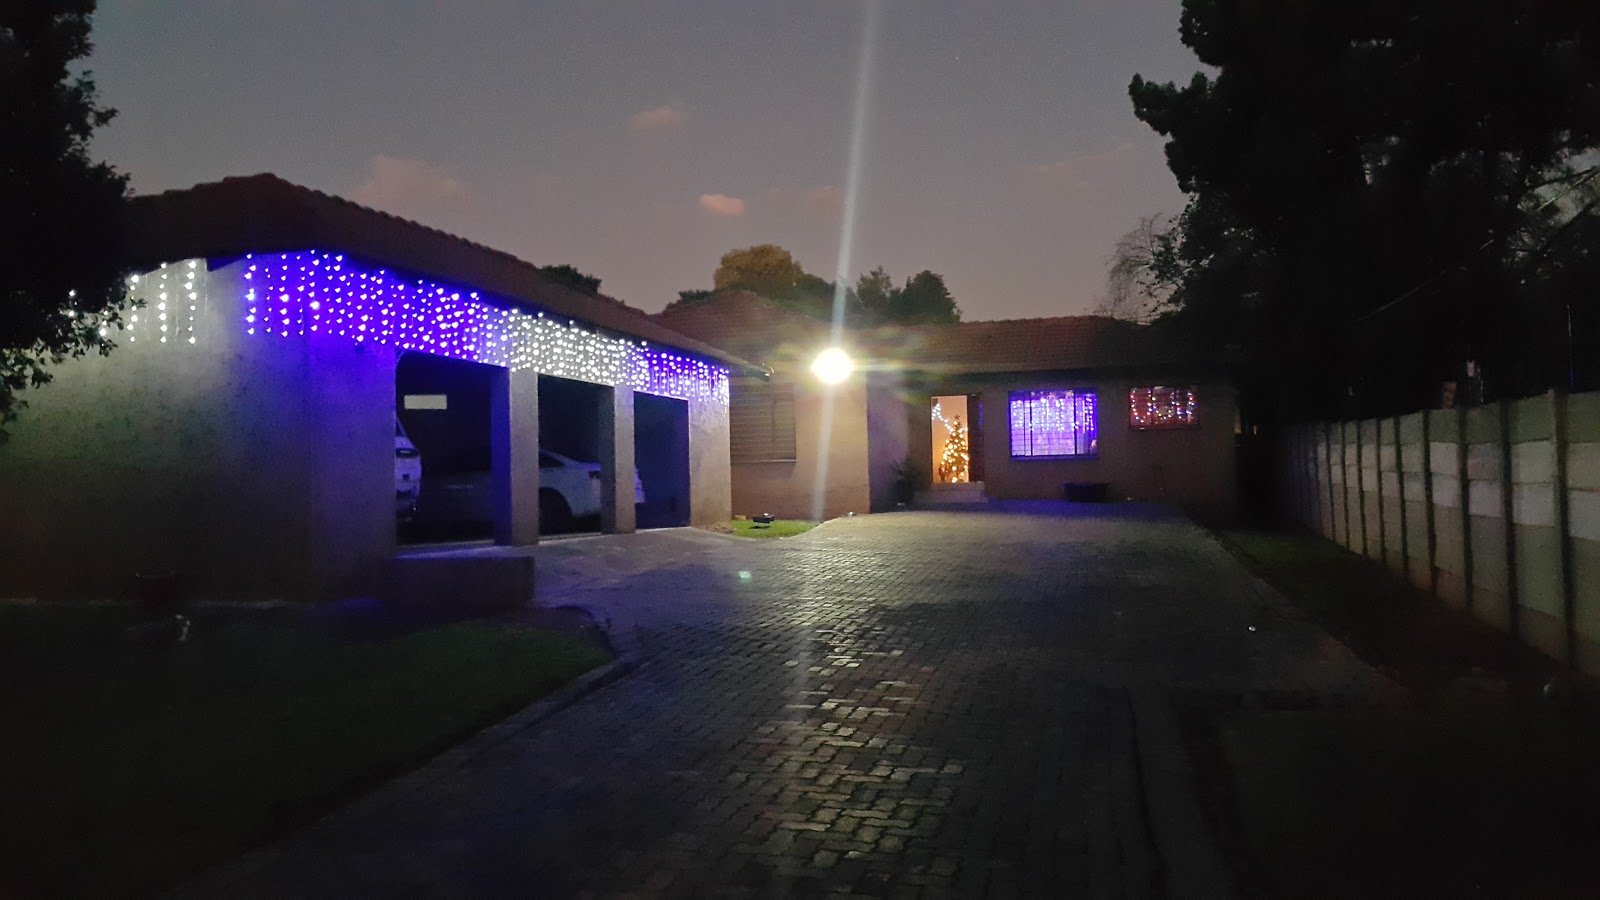
But wait there's more... why just put up Christmas lights when you can put up Christmas lights and at the same time (or a few minutes later) create a simple program that will allow you to switch on your glorious addition at the push of a button, of course not a boring wall mounted button but a cool button on your cellphone or browser... Which allows you to switch on your awesome lights from anywhere on the planet, anywhere with a network connection that is :)
But wait there's still more... Make it so you can switch on your lights from anywhere in the world, with a bit of added security checks obviously :)
A Christmas'sy overview
(there's nothing Christmas'sy about the overview but sure helps make it seem that way by saying it's Christmas'sy right?) Usually when I want to automate something at home the first thing that comes to mind is opening up ports on my router to allow some web traffic through... but that seems a bit lame now given the many mannnny different messaging protocols there are out there (NATS.io one of my favourite).
This time instead of opening up ports and making calls to my network operator to make sure the opening thing on their side I thought I'd use Azure's Service Bus as my messaging framework/ solution.
The basic idea it to allow me to send a message to the bus, this message will contain a simple "Switch On" signal, while at home a program running on a raspberry pi will poll the Message Bus for new messages. On receiving the on or off signal the raspberry pi will either turn on or turn off the Christmas lights by triggering a solid state relay.
Setting Up the DATA bus
Before we get to the fun stuff... We'll need to setup a service bus in AZURE, if you already have a subscription this is pretty simple, if you don't well then step one is getting a subscription :)
To create a namespace
- Sign in to the Azure portal.
- In the left navigation pane of the portal, click + Create a resource, then click Integration, and then click Service Bus.
- In the Create namespace dialog, enter a namespace name. The system immediately checks to see if the name is available.
- After making sure the namespace name is available, choose the pricing tier (Basic, Standard, or Premium). If you want to use topics and subscriptions, make sure to choose either Standard or Premium. Topics/subscriptions are not supported in the Basic pricing tier.
- In the Subscription field, choose an Azure subscription in which to create the namespace.
- In the Resource group field, choose an existing resource group in which the namespace will live, or create a new one.
- In Location, choose the country or region in which your namespace should be hosted.

- Click Create. The system now creates your namespace and enables it. You might have to wait several minutes as the system provisions resources for your account.
Obtain the management credentials
Creating a new namespace automatically generates an initial Shared Access Signature (SAS) rule with an associated pair of primary and secondary keys that each grant full control over all aspects of the namespace. See Service Bus authentication and authorizationfor information about how to create further rules with more constrained rights for regular senders and receivers. To copy the initial rule, follow these steps:
- Click All resources, then click the newly created namespace name.
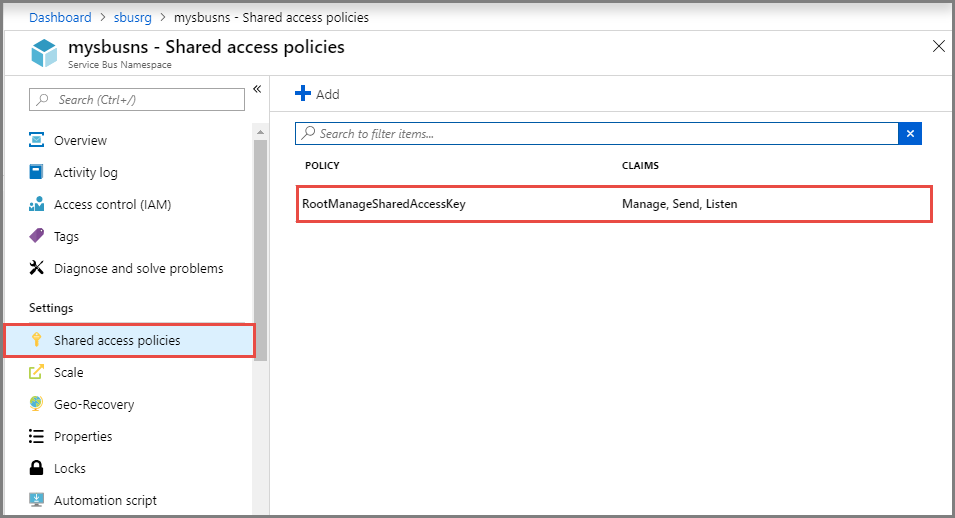
- In the namespace window, click Shared access policies.
- In the Shared access policies screen, click RootManageSharedAccessKey.
- In the Policy: RootManageSharedAccessKey window, click the copy button next to Primary Connection String, to copy the connection string to your clipboard for later use. Paste this value into Notepad or some other temporary location.
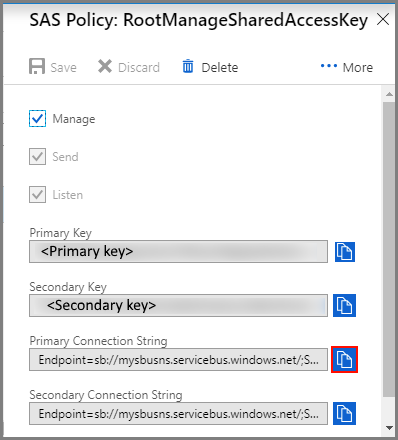
- Repeat the previous step, copying and pasting the value of Primary key to a temporary location for later use.
Create a Topic And Topic Subscription
Basically messages can be sent to a specific topic, this means that the subscriber of the messages will subscribe to a topic and receive all message for a specific topic, provided you have the correct keys for the topic

Code ... Yuppeee it's time for some code
The code was written in Go. The two main external libraries required are go-rpio and asbclient. The first library allows us to control the GPIO pins of the reaspberry pi while the second allows us to connect to Azures Service Bus:)
Code is available at simpleSwitch on github but I'll explain the main parts below:
Initialising the Pi
First step is to define the pins to be used on the raspberry pi, we'll be using two pins only, one for ground and the other as the signal to the solid state relay.
var (
// Use mcu pin 21 (gpio21) corresponds to physical pin 40 on the pi
pin = rpio.Pin(21)
)
Connect to Azure
Simply replace namespace , keyname and key value with the values you configured in azure
func PollMessages(messageCh chan string) {
i := 0
log.Printf("Send: %d", i)
namespace := "[Azure Data Service Namespace Here]"
keyname := "[Azure data service key Name]"
keyvalue := "[Azure data service Key]"
client := asbclient.New(asbclient.Topic, namespace, keyname, keyvalue)
client.SetSubscription("stateSubscription")
for {
msg, err := client.PeekLockMessage("state", 30)
if err != nil {
log.Printf("Peek error: %s", err)
} else {
if msg != nil {
message := string(msg.Body)
messageCh <- font="" message="">
log.Printf("Peeked message: '%s'", message)
err = client.DeleteMessage(msg)
if err != nil {
log.Printf("Delete error: %s", err)
}
}
}
time.Sleep(time.Millisecond * 200)
}
}
Sneaky bits
I used go's channels to trigger turning on and off the pi's pins. basically the messageCh channel is used to pass on the azure message to the function messageListener, the routine will block until the channel receives a value.
func messageListener(messageCh chan string) {
for {
//Block untile message received from channel
msg := <-messagech font="">
if msg == "on" {
fmt.Println("On State Received")
pin.High()
} else if msg == "off" {
fmt.Println("Off State Received")
pin.Low()
}
}
}
Connecting things together
Connecting the Raspberry pi to a solid state relay is pretty simple. Below is the image I took of everything together, sorry no circuit diagram.

A client
the only bit i haven't included is the bit that sends the message to the bus... here's a snippet used to send.
client := asbclient.New(asbclient.Topic, namespace, keyname, keyvalue)
client.SetSubscription("stateSubscription")
err := client.Send("state", &asbclient.Message{
Body: []byte(message),
})
There you go!!! my gift to you all :)
0 comments:
Post a Comment